National Treasures Documentary - How Bronzes Are Made
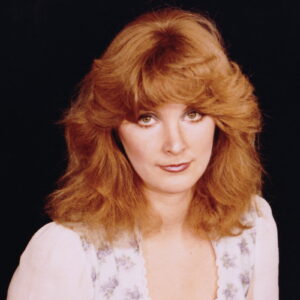
In 1983, a long time friend of mine, Ferman Ansel, told me of a documentary he was working on to show people the intricacies of the lost wax casting process of bronze sculptures. I was intrigued by the thought of having a video made which would explain this process with actual moving images instead of me attempting to explain this process to the many people who inquired about it. I usually went off on a tangent with flailing hands gyrating around, all the while the people were staring at me in utter amazement not having even the slightest clue what I was talking about. Because of this, I took on the task of financing the documentary from this point on. Ferman and I took several trips across our state and to Oregon to video the bronze foundry process. He focused on many of my sculptures, but also added works from many well known artists. The video was introduced in 1984 and produced by Starlight Productions. I was privileged to share in the editing process by choosing all of the music for the video and placing it in the most strategic spots in the production. At the time of filming, I was married to my first husband, Bob Moss, so you will see me referred to as Debbi Moss.
The 1984 video "Creation of National Treasures" by Ferman & LerMond
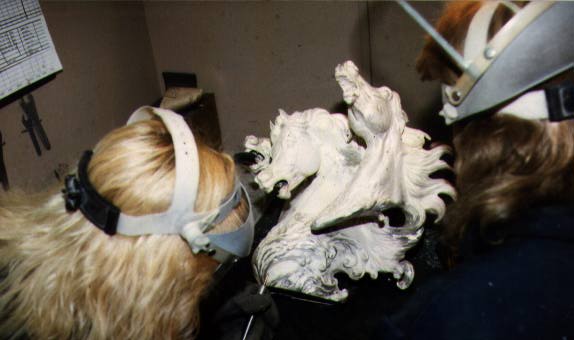
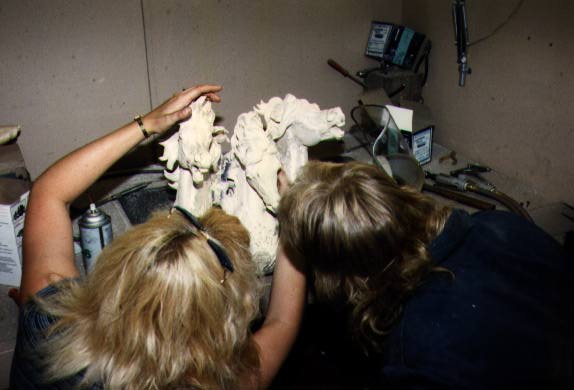
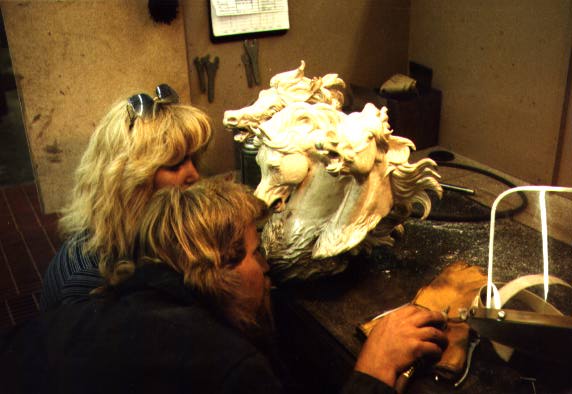
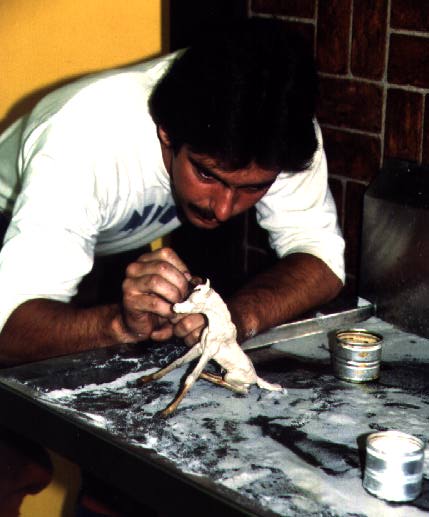
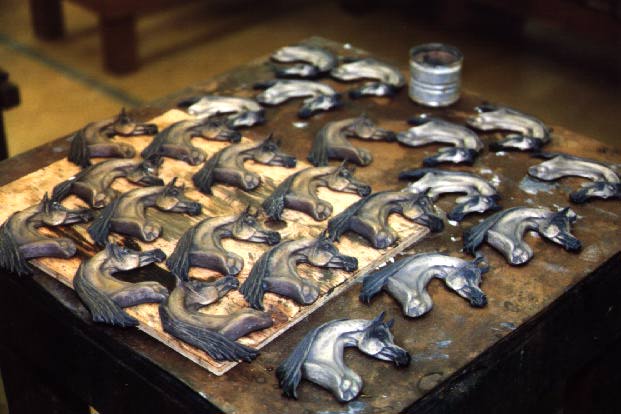
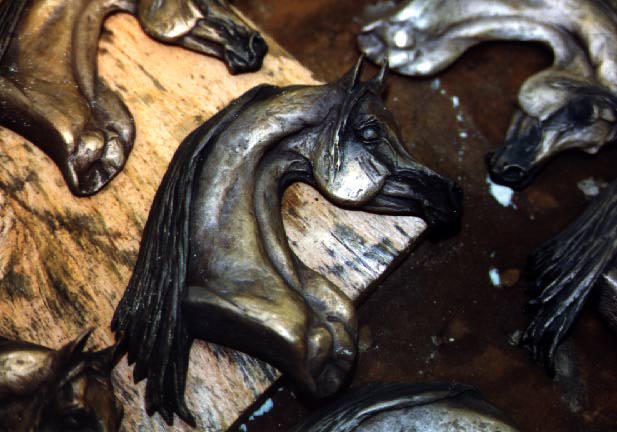
When the finished sculpture was ready to cast, I photographed the model from many angles to make sure that after handling by numerous foundry personnel, the original form would be retained. It was at this point, I would entrust the foundry with the mold making operations. A multi-part RTV mold with plaster or fiberglass reinforcement was formed around the original sculpture. In many cases, the original sculpture would have to be partitioned to make multiple molds. After the specified curing time for the molds, the foundry personnel would pour hot wax duplicates, called patterns, into the finished molds. When the waxes cooled to room temperature, the molds would be pryed apart and the hollow wax patterns would emerge. Each wax pattern would be cleaned and/or inspected by myself to assure quality control for the finished bronze.
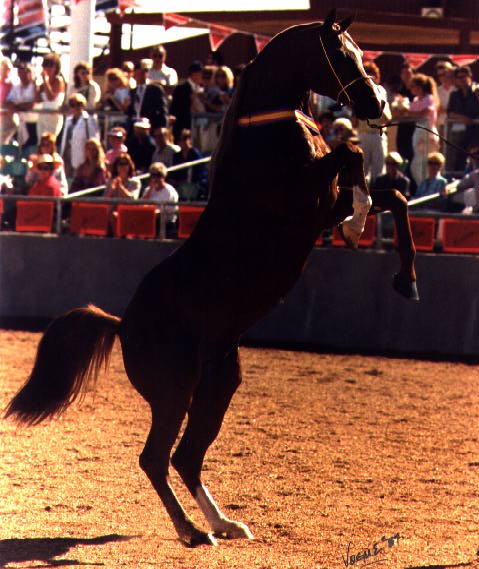
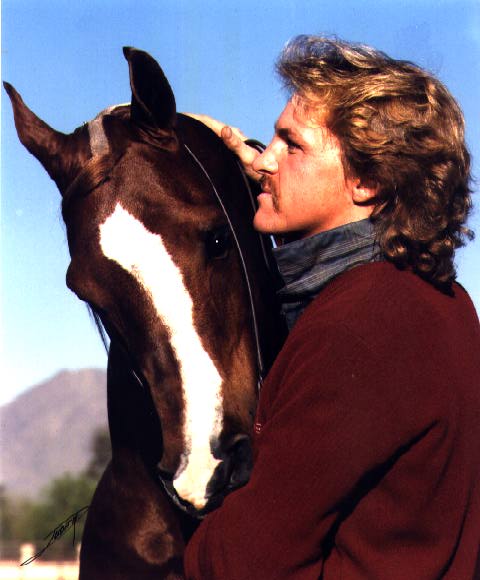
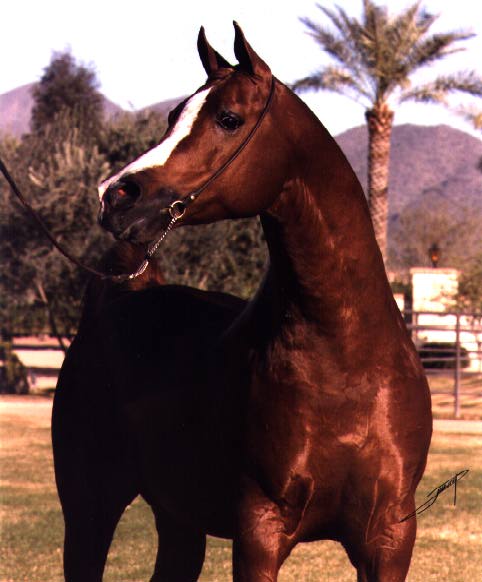
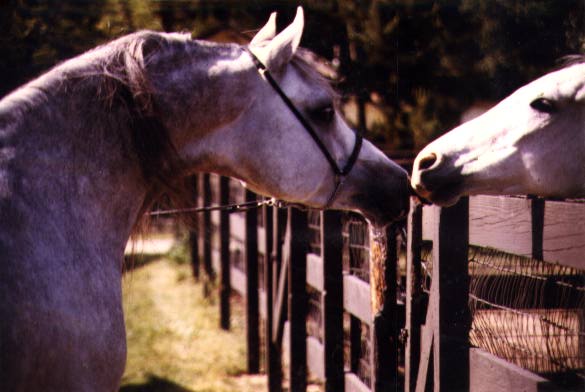
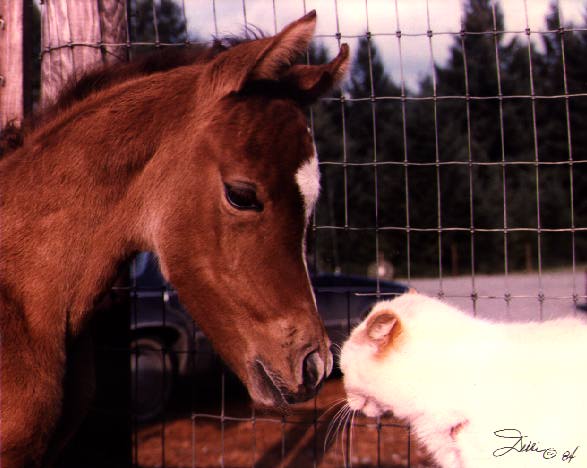
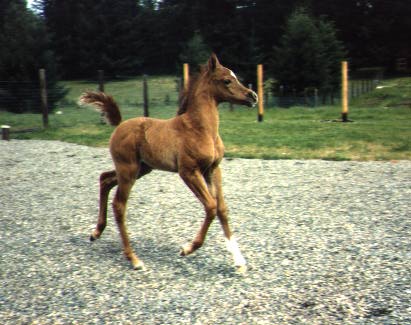

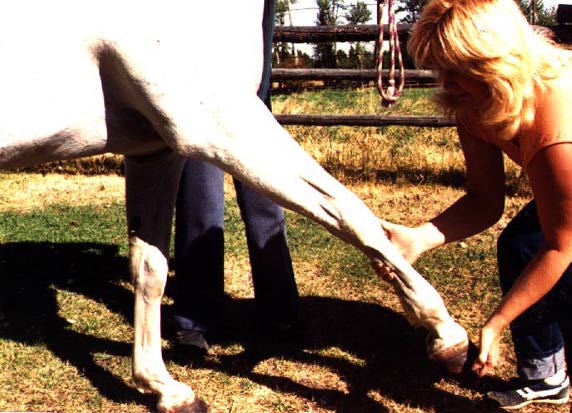
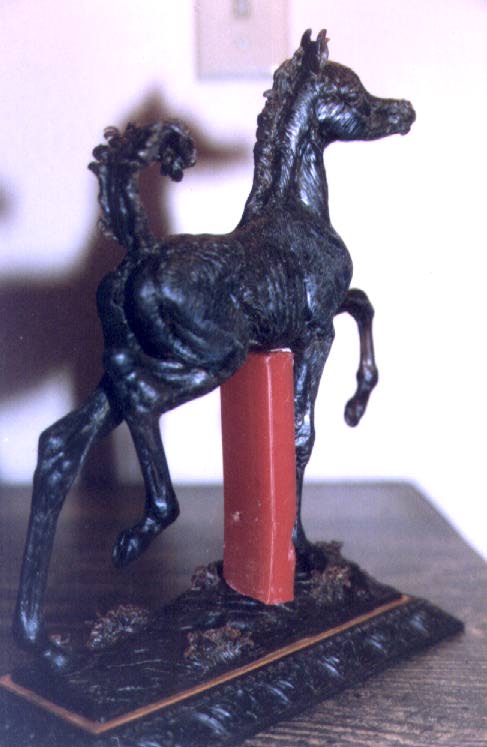
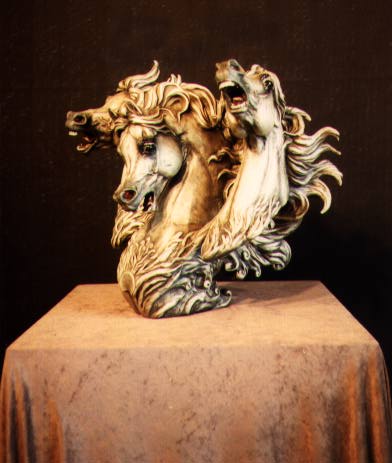
Inspiration is the key to great artwork and Arabian Horses as my models inspired me create some of the most noteworthy sculptures in the industry. To become inspired, I first viewed my subjects in real life, video and still camera shots. I watched them walking, trotting, teasing mares, etc until I reached the quintessential moment when I knew that I had found the perfect pose. It was at this point I would go back to my studio, grab a hunk of wax or clay and begin to build my model. After the initial structure was formed, I went back to my live models to work from life. Using the principles of the Golden Section, I took measurements and extra photos and video in the exact pose of the working wax model to help create the perfect balance of form and design.
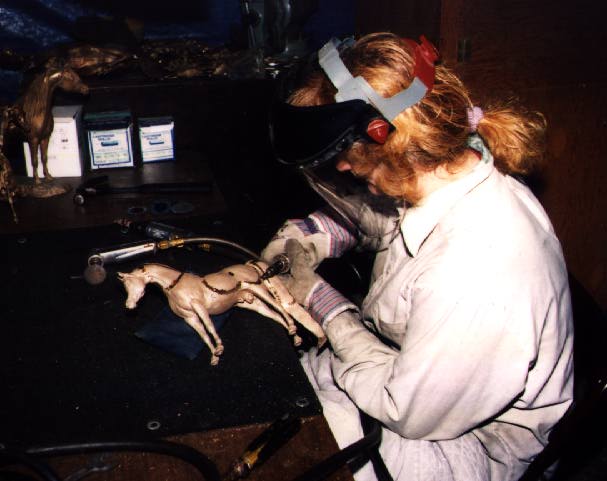
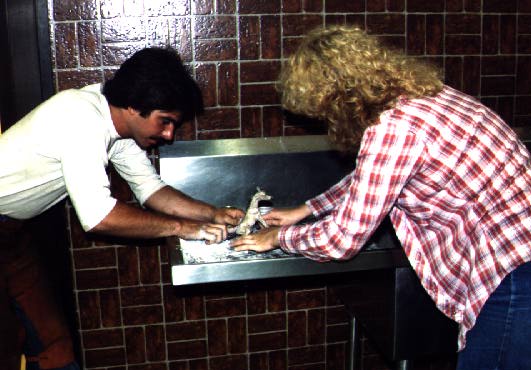
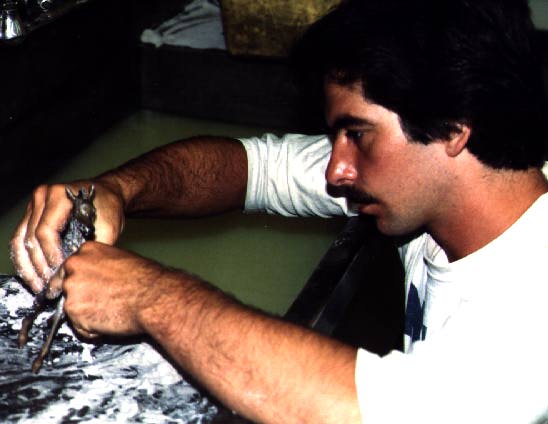
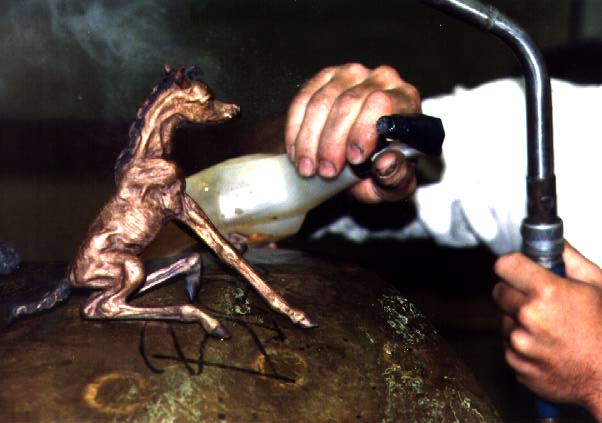
Adding spurs to the wax model allow molten bronze to flow
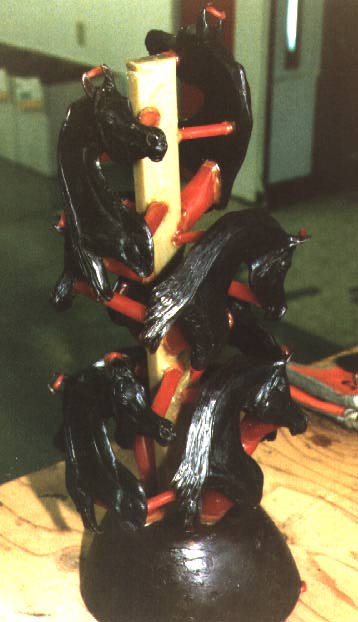
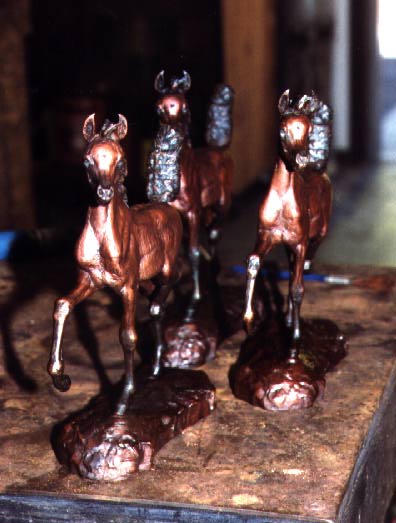
After I amassed enough finished waxes for a foundry run, I would take them back to the foundry to have them attach the wax patterns to large sprue bases. These sprues, with the attached waxes, formed what is called trees, which were attached to large pouring cups that would insure proper material flow and eventually help control shrinkage in the finished bronze. After the trees were completed, they were dipped into a vitrified ceramic slurry coating and then lowered into a fluidized bed of silica sand. This process was repeated with as much as ten coatings, repeating the process from very fine coatings at the first and ending with a coarse outer coating. After the ceramic shells were thoroughly dry, they were placed in a burnout oven to burn out all of the wax pattern, thus the term, Lost Wax Process. The now hollow shells would be reheated in a pre-heat chamber and then inverted into a bed of sand. At this point, the molten bronze, at a temperature of 1850 degrees Fahrenheit, would be poured into the preheated ceramic shells. Now the wait would begin, and I would soon see if the sculptures would be as I conceived them in my mind.
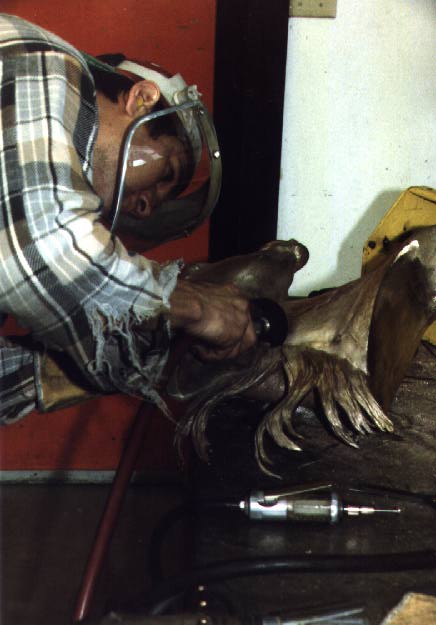
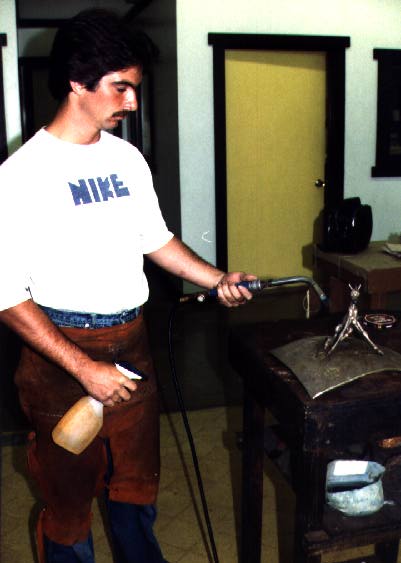
Welding is a critical step when National Treasures are being created
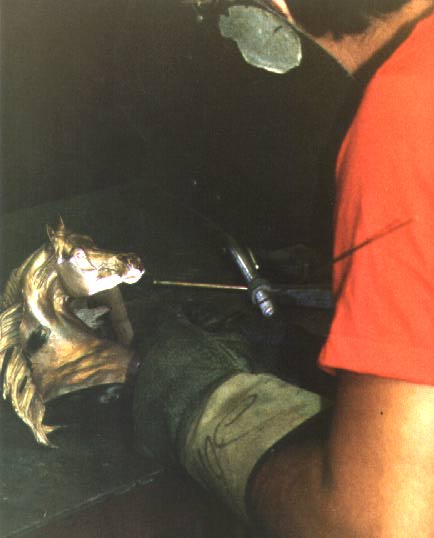

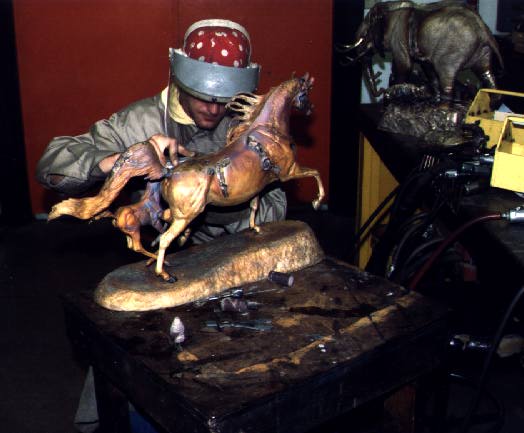
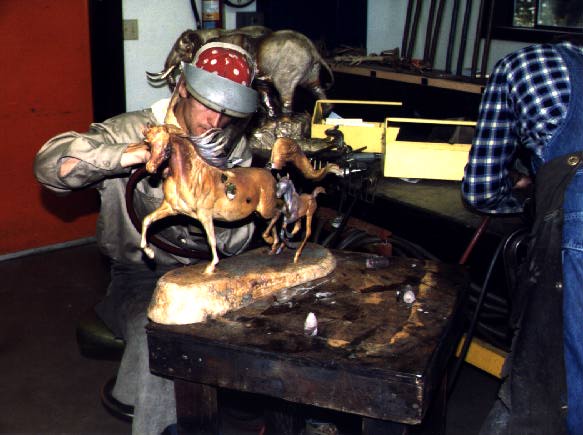
From the very beginning of my bronze art career, I took an active part in the foundry process. I did everything in that process, except the actual welding (although I held hundreds of bronzes in place while the welder did his duty). I used and worked on my sculptures at several foundries; and found the need in the mid 80’s to move to the foundry location in Joseph, Oregon to insure quality control. While living in Joseph, I took a very active part in the foundry process. In the early 1990’s, I set up a foundry at Hallelujah Bronze in Duvall, Washington. From there, I , along with my sister and her husband, took complete control of the foundry process.
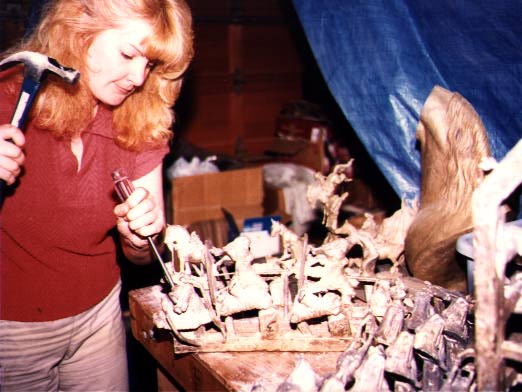
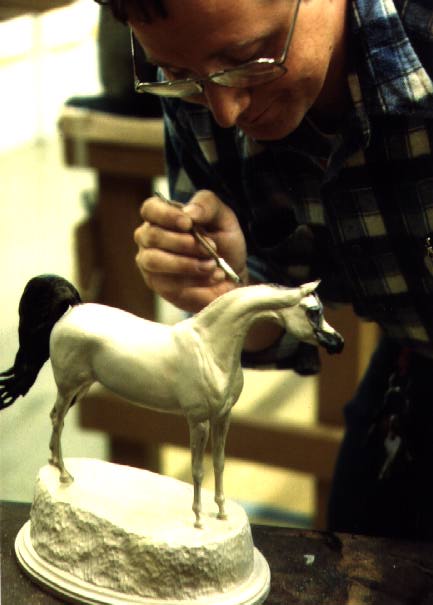
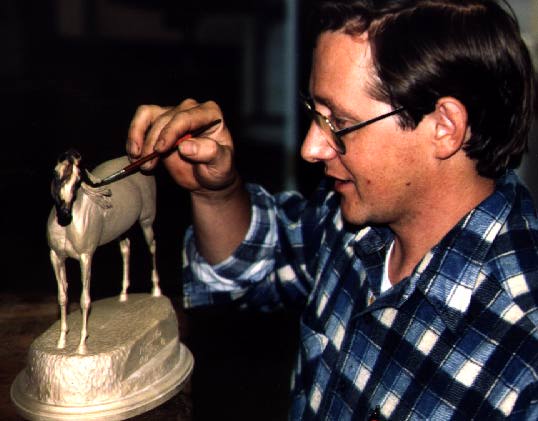
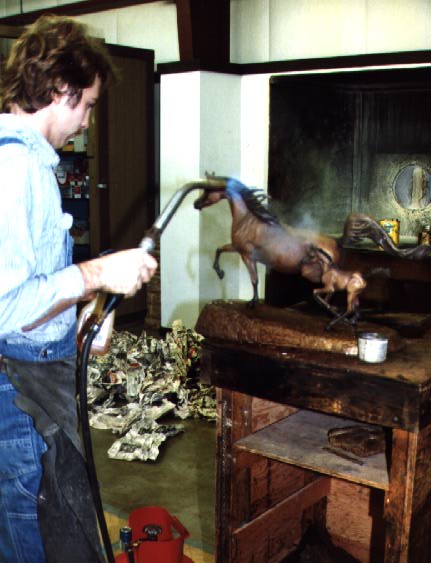
The last 2% of the foundry process is the most critical and finishing the bronzes at my own studio, became a crucial part of the restoration of the bronze sculptures. I knew that I would be more careful than the foundry personnel, chipping out the ceramic shell, grinding the metal and patinating the bronzes to my own high expectations. Metal grinding is an art in itself and what better way to recreate the original sculpture than for the artist herself to do the tooling. After numerous hours of grinding, welding, tooling and sandblasting, the sculpture reached the final stage of the process, the patination. This was where the depth and detail of the sculpture would be brought out by the chemical patinating.
Sandblasting is an other critical step in creating National Treasures

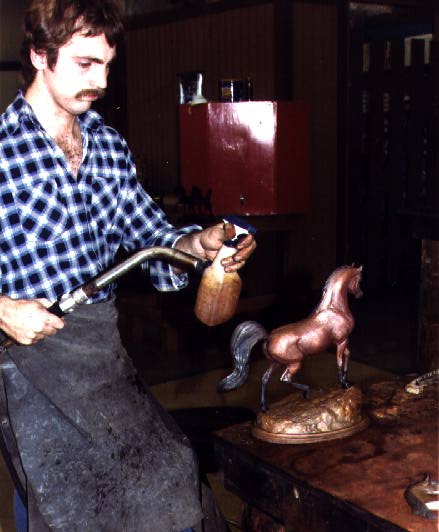
Dark areas were first applied with the concentrated chemical, Liver of Sulfur, to enhance texture. While the bronze was still hot, it would be dipped into a vat of hot weakened solution of Liver of Sulfur. Highlights would then be brought out by scrubbing with silica. The sculpture would then be rinsed and reheated. Other chemicals would then be sprayed onto the heated bronze to give it a rich, deep color. Finally, the bronze would be coated to protect the color and discourage leaching of the finished patina and then would be mounted on wood and/or marble bases which I designed to compliment the sculpture.
Patination is the last step in creating National Treasures


For more information about bronze sculptures, visit Valley Bronze where I made most of my bronze sculpture at ValleyBronze.com